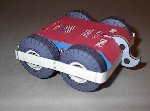
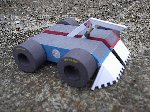
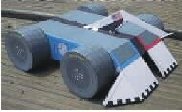
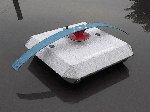

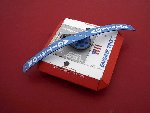
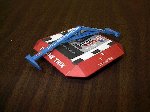
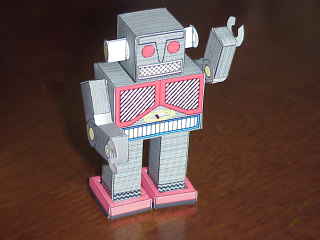
Ron has designed and graciously provided several realistic 1/10 scale models of the actual bots built here at the Dojo. Since my bots have never been made into toys, Younger fans will enjoy building these models out of paper. This hobby has a large following worldwide, and you'll find links here that will lead you to hundreds of other non-bot related sites.
Click on the images above or to the left to download the respective 'kits' of our bots.
Print the model onto 8-1/2" x 11", 67 pound cardstock. You can buy this from a printing business or an office supply store. Walmart sells 110 pound cardstock, but this is usually too thick for the smaller parts. I only use 110 pound cardstock for really large parts that have little or no internal support.
For PDF files, obtain and install a copy of Adobe Acrobat Reader software onto your computer. This can be downloaded for free from their website at www.adobe.com When using the Acrobat Reader software, make sure the paper oreintation is set to portrait and the 'fit to page' box is unchecked, otherwise the sclae won't be right. Follow the software instructions for any problems you have in printing
Print out the model on the best printer you can use for color and detail. Most printers shouldn't have problems feeding the cardstock. Use a printer that has both a color and black cartridge that are installed at the same time. This will give you a very crisp, clean and well-defined printout.
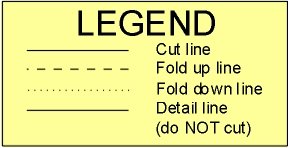
The models are built using pre-assembled subassemblies. You may find it easier to cut out only the parts that are needed for an subassembly to avoid loosing parts (in case you sneeze - I had to add that in. Mike). Cut out the parts using a small pointed pair of scissors. Use a hobby knife on smaller parts, holes and hard to cut areas. LIGHTLY score the folds with a hobby knife (try the backside) or a COMPLETLY empty ball-point pen before making a fold. This will give you an easy-to-bend crease that will look very sharp. Use the yellow legend below for directions to fold the paper.
You can use a fine tip black felt marker on some of the edges before gluing them. This will help hide the exposed white edges of the cardstock and give your model a proffesional 'finished' look.
Test fit the parts before gluing. Roll the cylinder-shaped parts around a small rod to pre-form the part and to help hold its shape while gluing. Use white glue sparingly to join the pieces. Apply the glue with either a toothpick or a straightened paperclip to the tabs. This will help keep your fingers clean and to keep from smearing glue over the printed surfaces. You may have to use tweezers to hold the pieces together for a few minutes to allow the glue to set up.
Let the joined parts dry a few minutes before adding other parts. Some of the parts are fragile and need to dry completely before adding them to the model.
Lightly spray the finished model with a clear matte spray to protect it from moisture and humidity. Use several VERY LIGHT coates of the matte sprat, allowing it to dry completely between coats. Most printer inks will bleed when wet, so don't use a single, heavy spray coat.


|
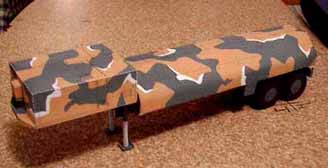
Ron Caudillo's Cruise Missile Launcher-Transporter. Ron other cardstock models can be found at fiddlers green. |
|---|---|

|
Lots of military planes and equipment as well as commercial buildings. The World Trade Center can be downloaded to remember September 11. Most of the models you'll need to buy for a couple of bucks. |

|
Download free Paper Models at the Papermodel Users Group |
| Card FAQ Link |
Card Modeling FAQ and WWW pages of card/paper modelers
|

|
Robot Papercrafts -Download free Paper Models of ficticious
robots at this Japanese site. |

|
This site has many science related shops, but has a pages of free paper toys.
They also link back to the RobotDojo. |
|
Private japanese site that has a robot model |